


From childhood pastime to adult playground
When we were kids, finding ways to pass the time was a way to express our creativity (not to mention giving our parents a break). Whether it was climbing trees or playing dress-ups, the possibilities were endless. But there’s one activity that’s synonymous with childhood – building the ultimate pillow fort.
Depending on what kind of child you were, your pillow fort was a space to lay and read a comic book, play games with friends or simply used as a place to get a bit of peace and quiet (hello, introverts).
In our adult years, building a pillow fort might seem like it’s only reserved for children. But we’re here to tell you pillow forts never go out of style.
Where to place your pillow fort
Now, there are two ways to go about this:
-
Indoor pillow kingdom
-
Outdoor glamping haven
Each with their own benefits, pillow forts can be made both indoors and outdoors. Within the indoor pillow kingdom, you’ll cosy up in its lumpy goodness and watch your favourite movies on repeat. But outdoors, books are read, stories are told and if the weather’s right, you might even be able to do a bit of star gazing.
Indoor pillow fort
Perfect for cold and rainy afternoons, the indoor pillow fort provides hours of entertainment.
Here’s what you’ll need:
-
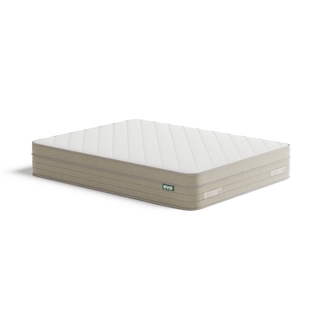
1 mattress for a comfy base
-
All the pillows you can find
-
Cosy blankets
-
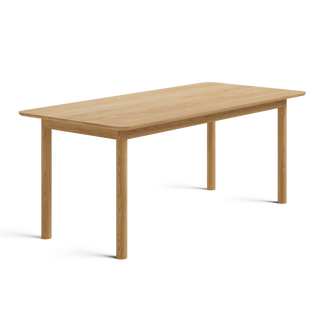
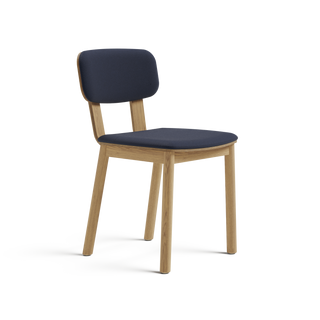
4 to 6 dining chairs
-
10 pegs
-
1 x tall lamp (or a broom would suffice)
-
1 fitted sheet
-
2 large flat sheets
-
Couch cushions
-
Books or small weighted items to hold down the fort… literally...
-
Pillow fort activities, popcorn, fairy lights – anything to keep the kids (or you) entertained

Beginning the build
-
Prepare the space: Clear everything out of the living room and gather what you want to go into the pillow fort.
-
Collect your mattress: Take your mattress with a fitted sheet to the living room and place it against a wall or your couch.
-
Create the structure: Line two or three chairs on either side of the mattress with the backs of the chairs facing inwards.
-
Align the couch cushions between the spaces of the chairs to keep the space closed in.
-
Use the pegs to secure the two sheets together by the ends then drape it over the chairs, tucking it behind the couch or under the head of the mattress against the wall.
-
The foot of the bed will be used as the entrance. This is where you can tuck the broom or lamp under the mattress to hold the sheet up like a teepee.
-
Use the books to secure the length of the sheet to the floor
-
Place all the pillows and blankets into the pillow fort, cosy up and relax. You’ve done it! Grab your popcorn, hang up your fairy lights, and lounge away.
Outdoor pillow fort
While the mechanics of the indoor pillow fort can be recreated outside too, we’ve got a few extra tips for creating a glamping style experience.
-
Weather permitting, make sure the ground is dry so as not to damage your mattress. For extra protection, lay down a tarp or old blankets just to be safe.
-
For those who have a clothesline, you’ve hit the jackpot for outdoor pillow fort making. Take as many sheets as you can find and drape them over the top of the line for the roof and along the sides to create walls, pegging them up as you go.
-
For the adults: Prepare a cheese platter, grab a bottle of wine and your speaker, pop on the Sunday tunes and there you have it – the perfect home date.

You’re never too old for a pillow fort
For big kids and little ones, the pillow fort still remains the ultimate sanctuary.
While our instructions are there to give you guidance, be creative! Half the fun of a pillow fort is assembling the fort itself. Now all you have to do is relax, unwind and try not to think about the packing up process… but we’ll leave that to you.

